oak

Pippy Oak Coffee Table

9036693538812212320.JPG

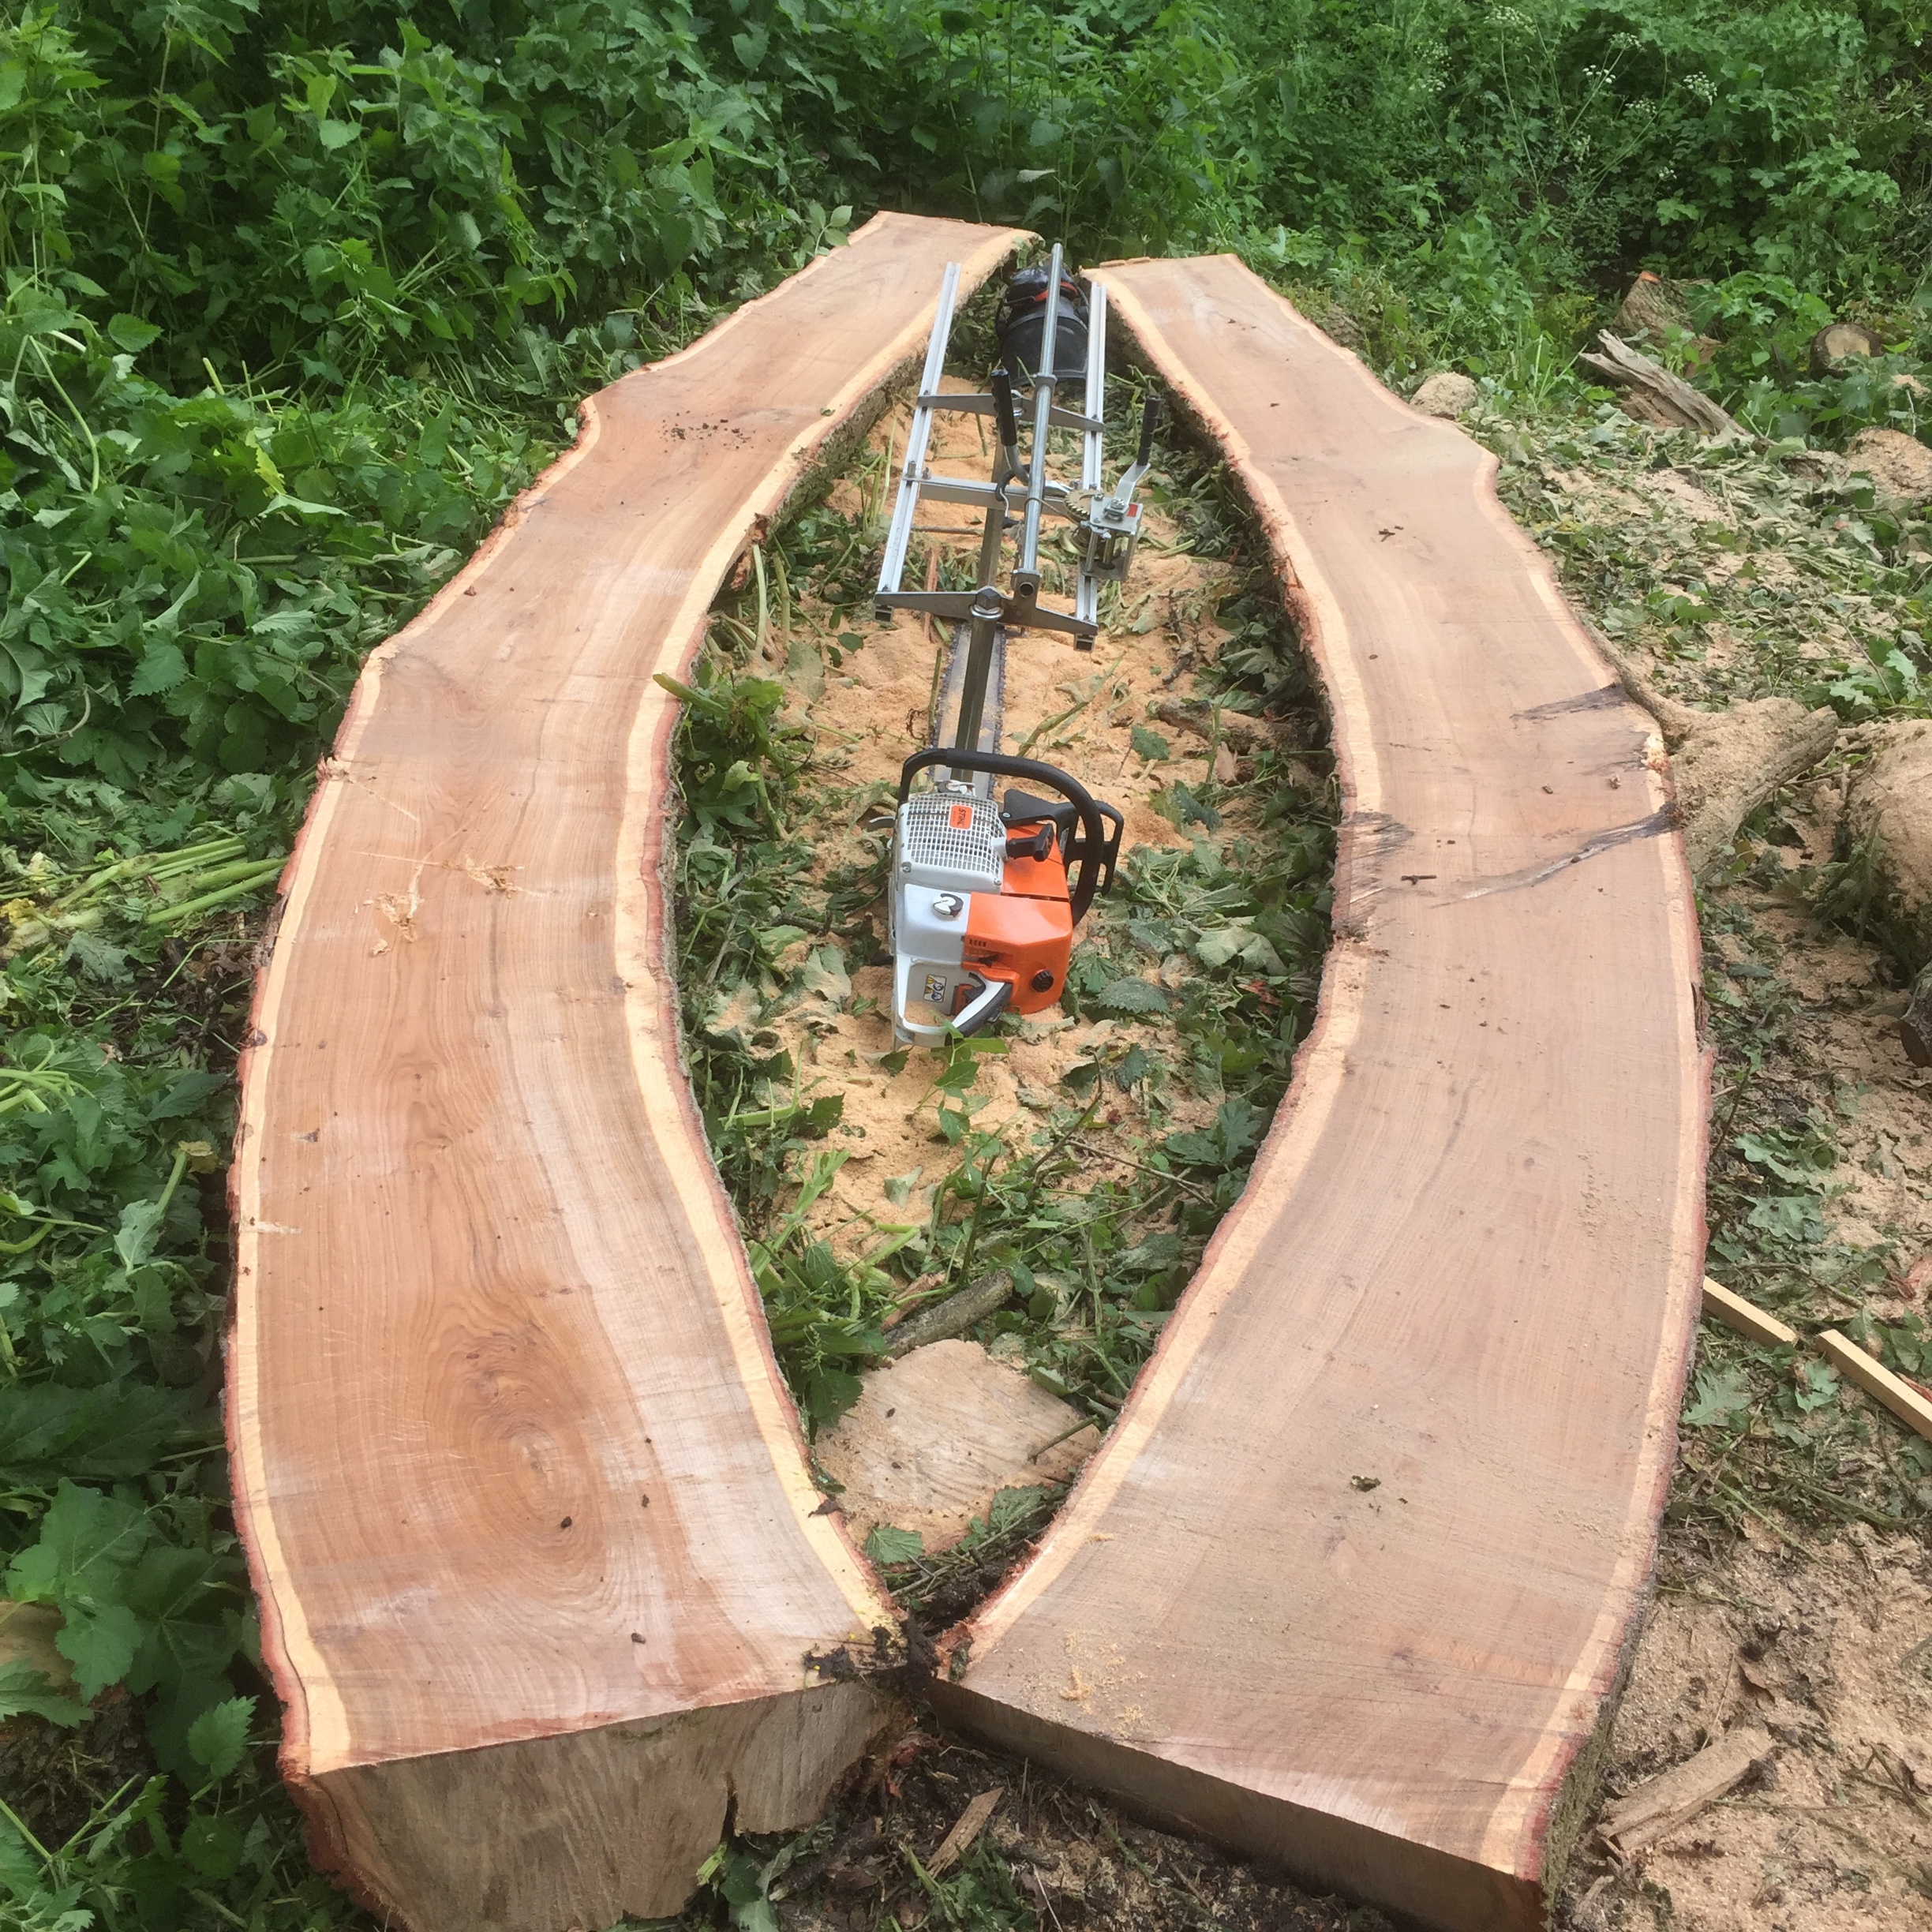
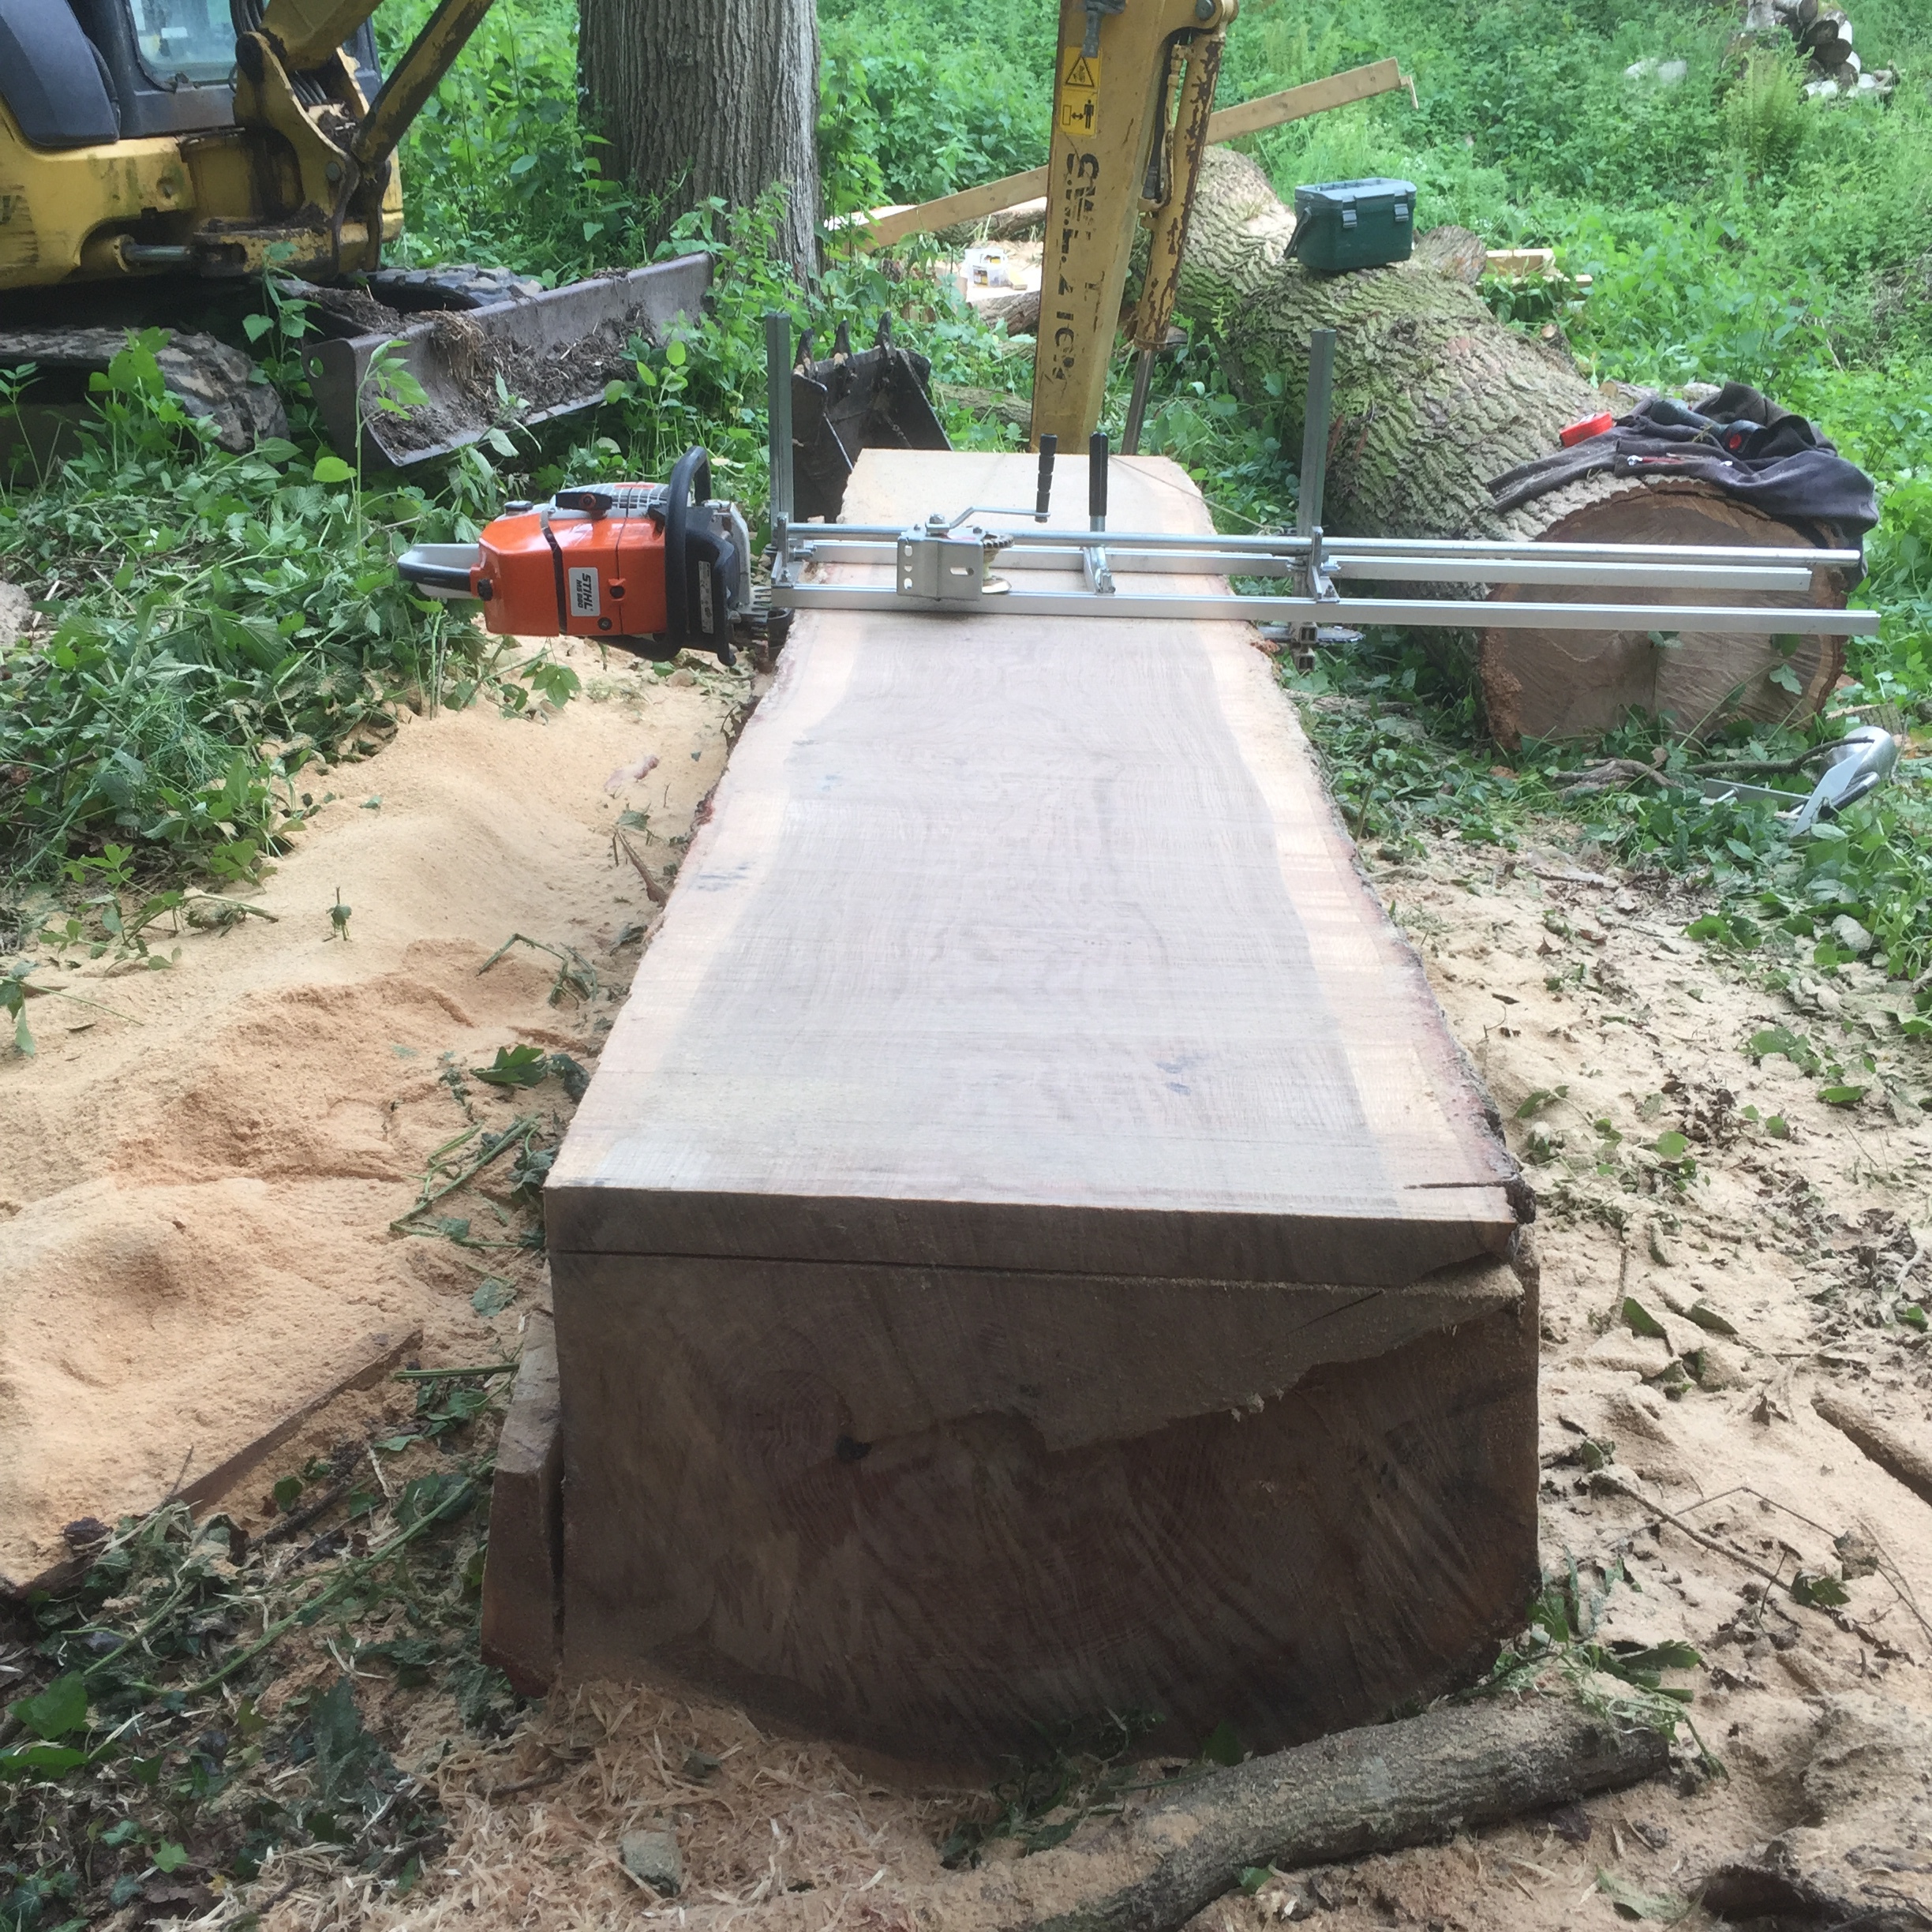
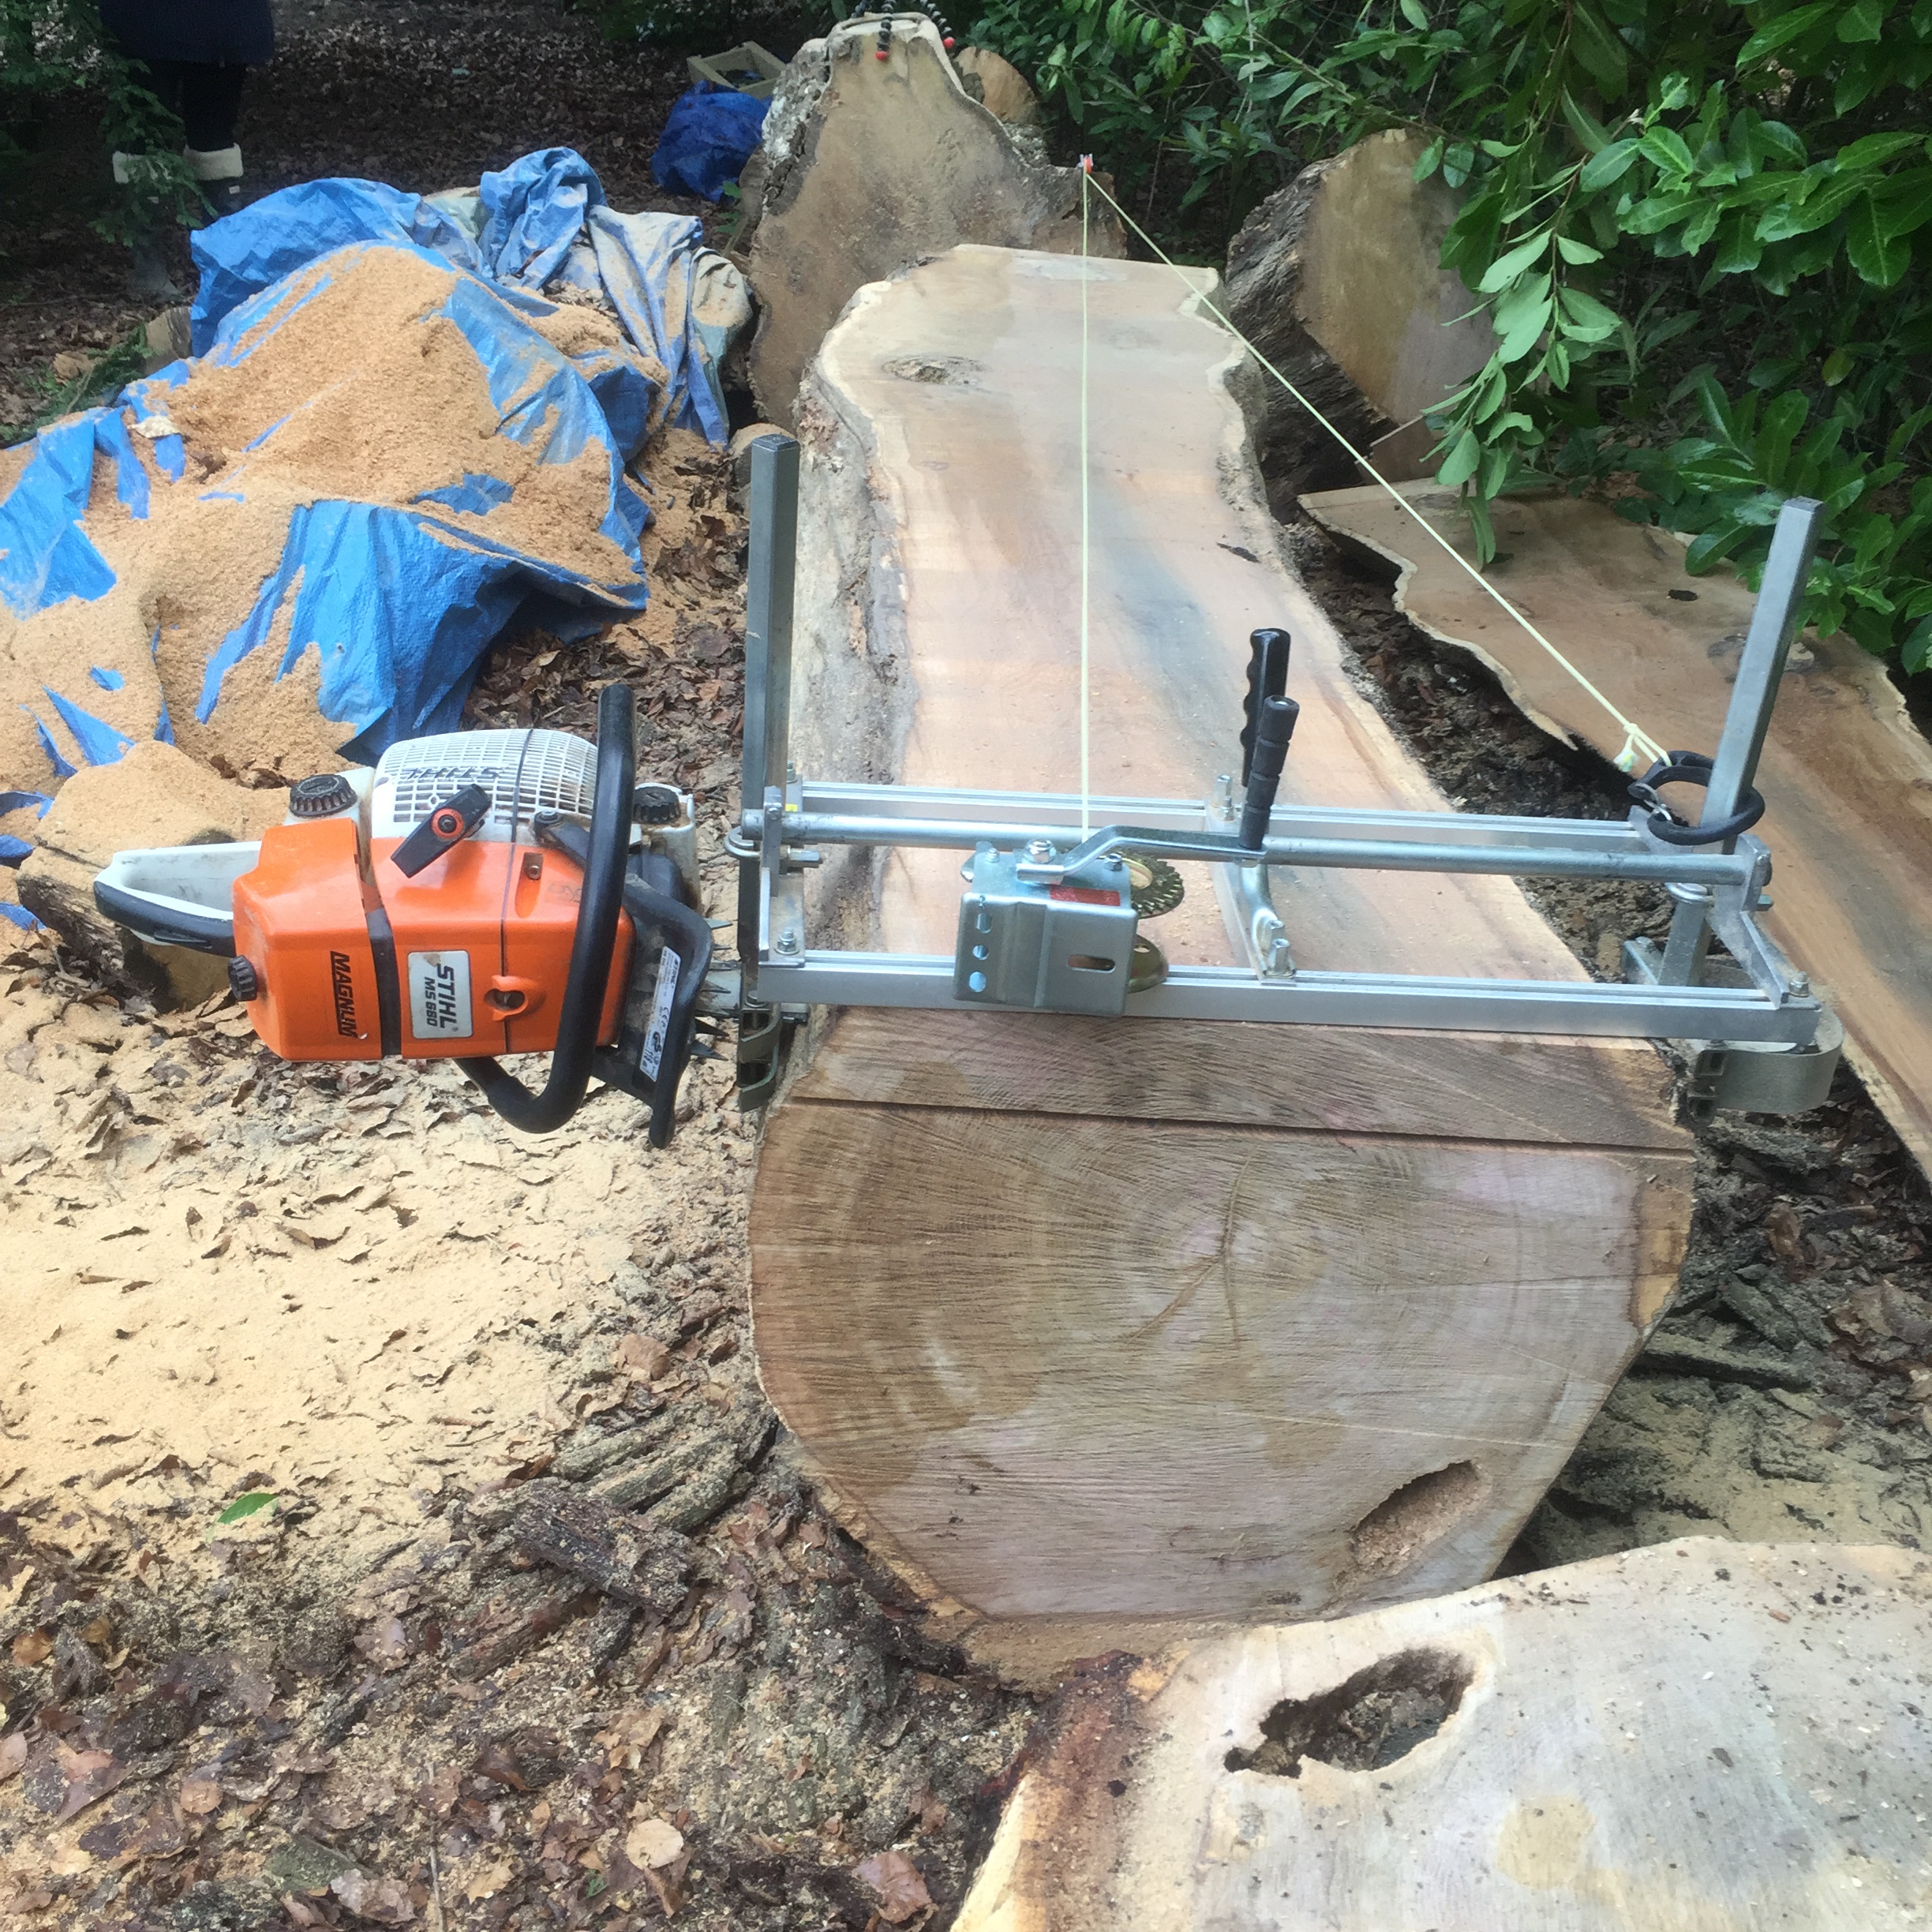
A recent commission I worked on over Christmas was this Pippy/burr Oak coffee table. The spec was for something rustic but also bespoke and sleek. A hard combination sometimes as I often think most 'rustic' furniture can look pretty lazy.

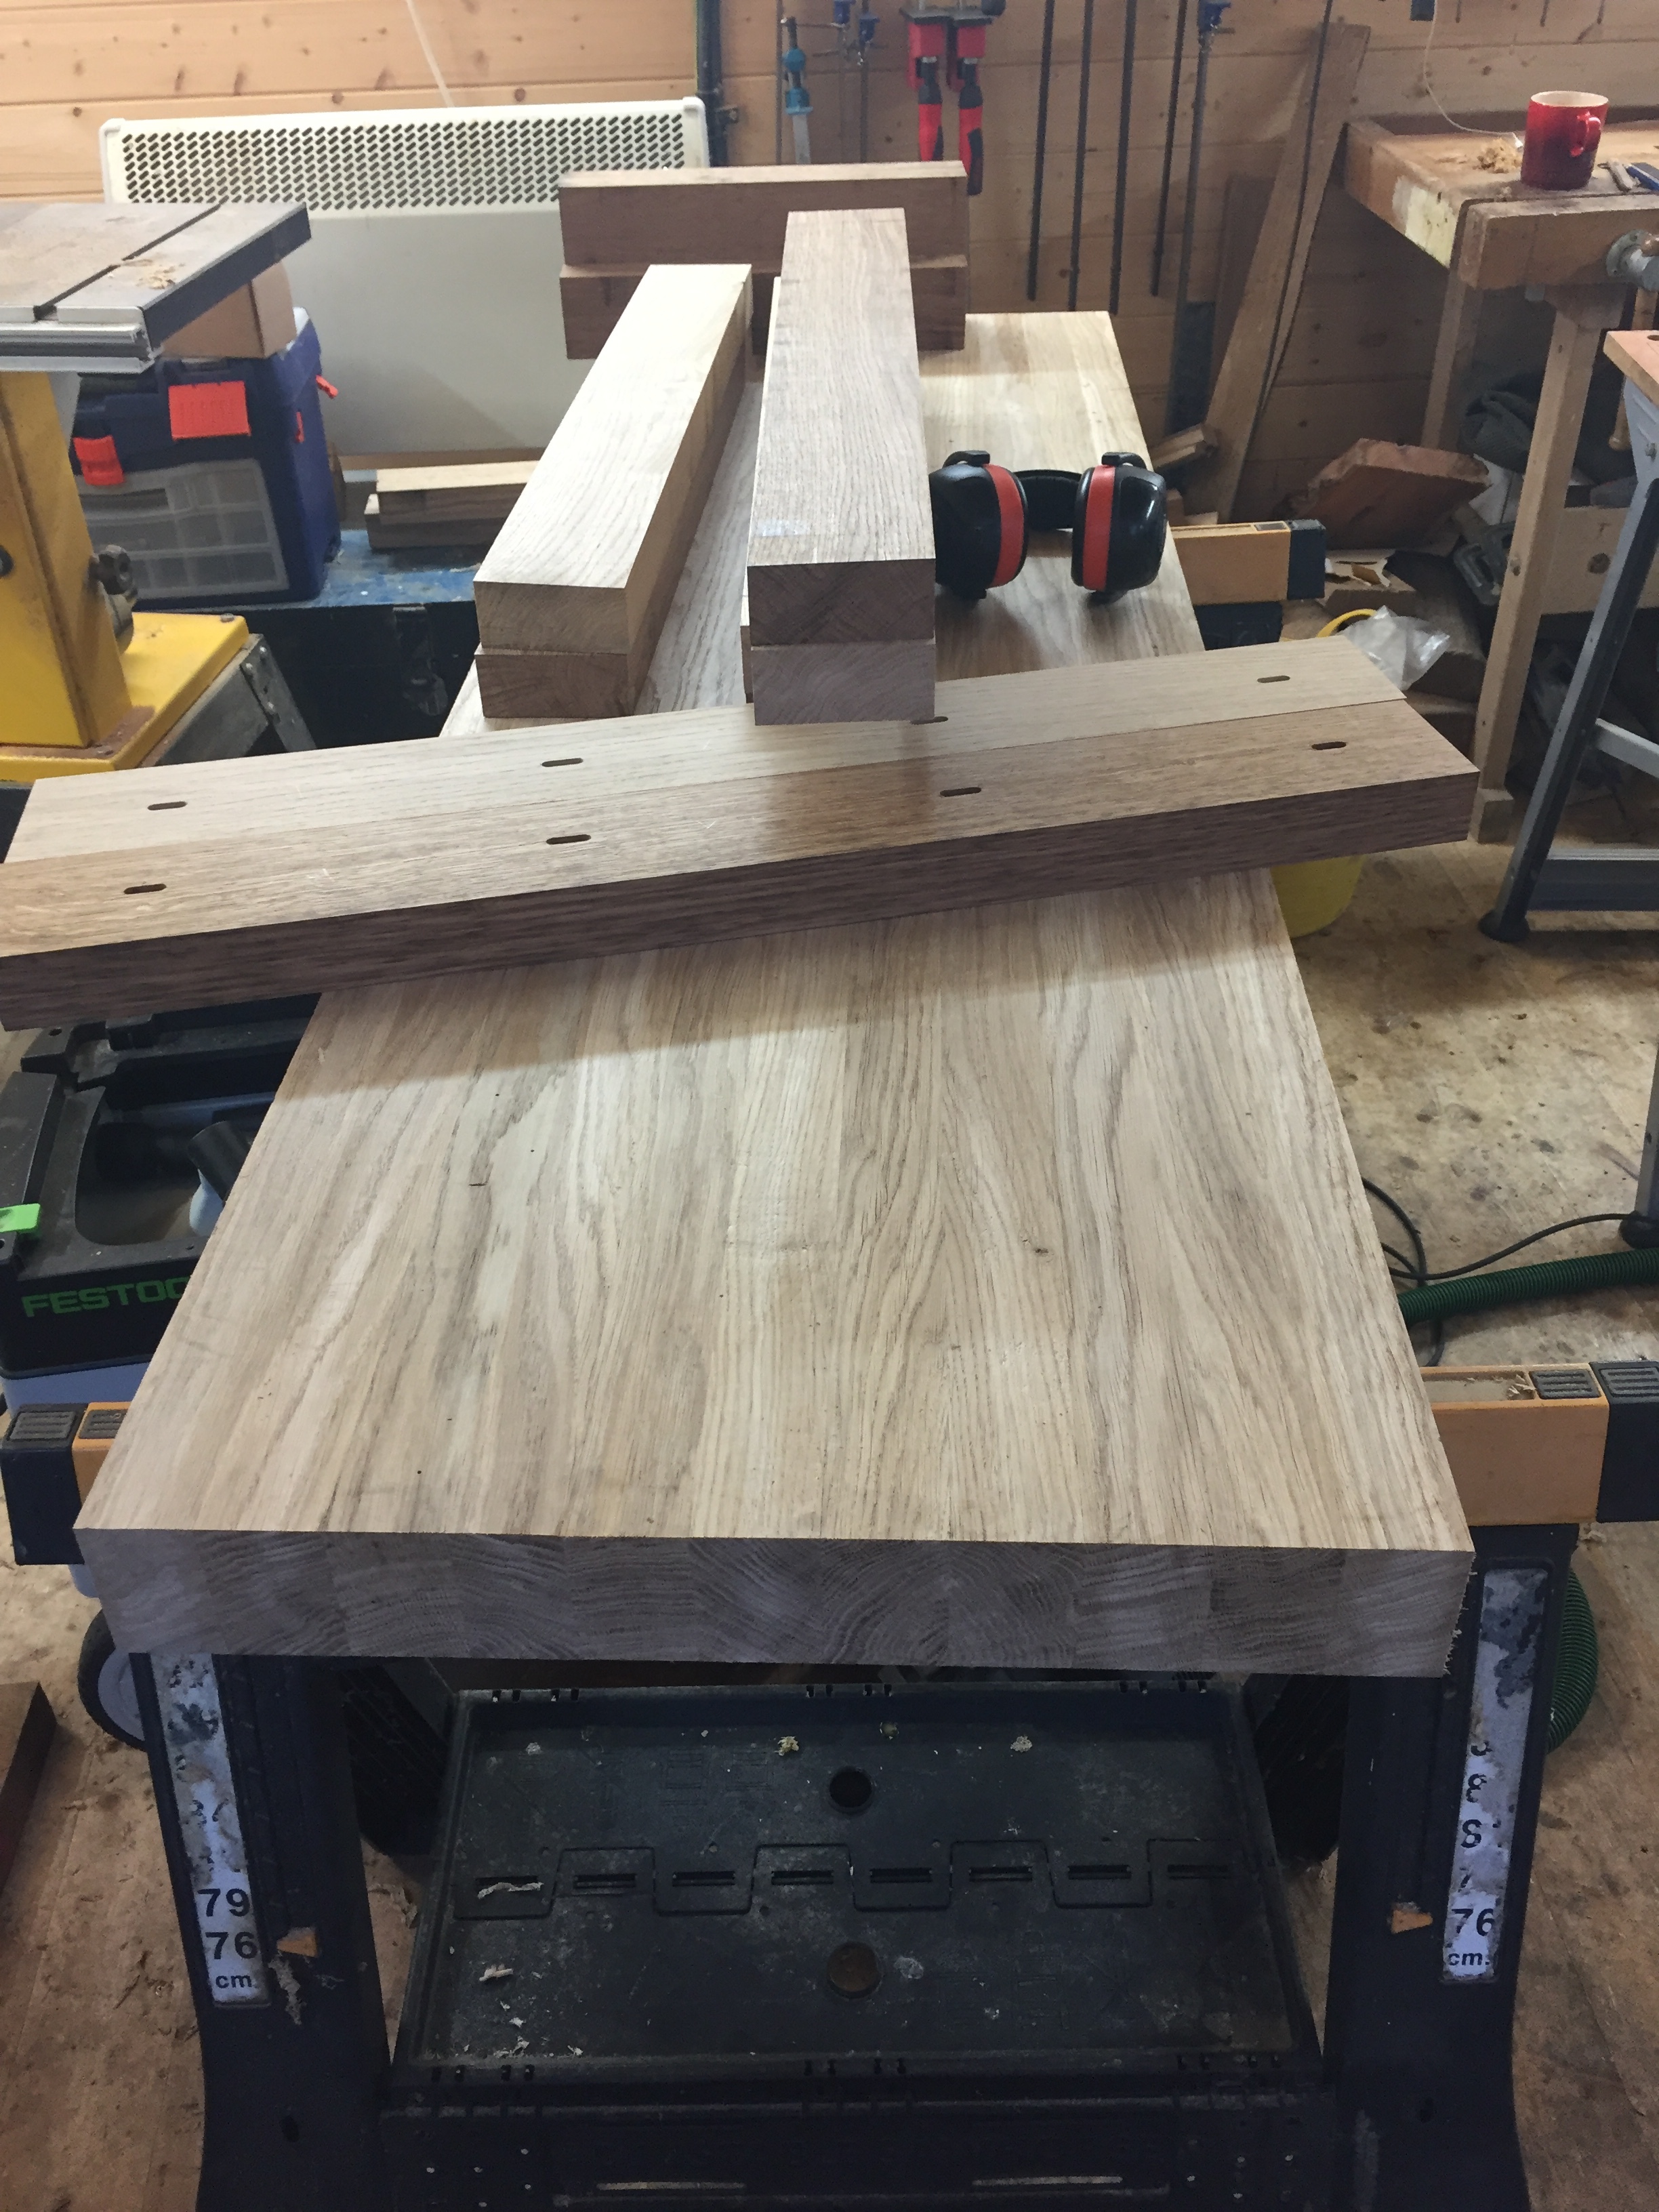
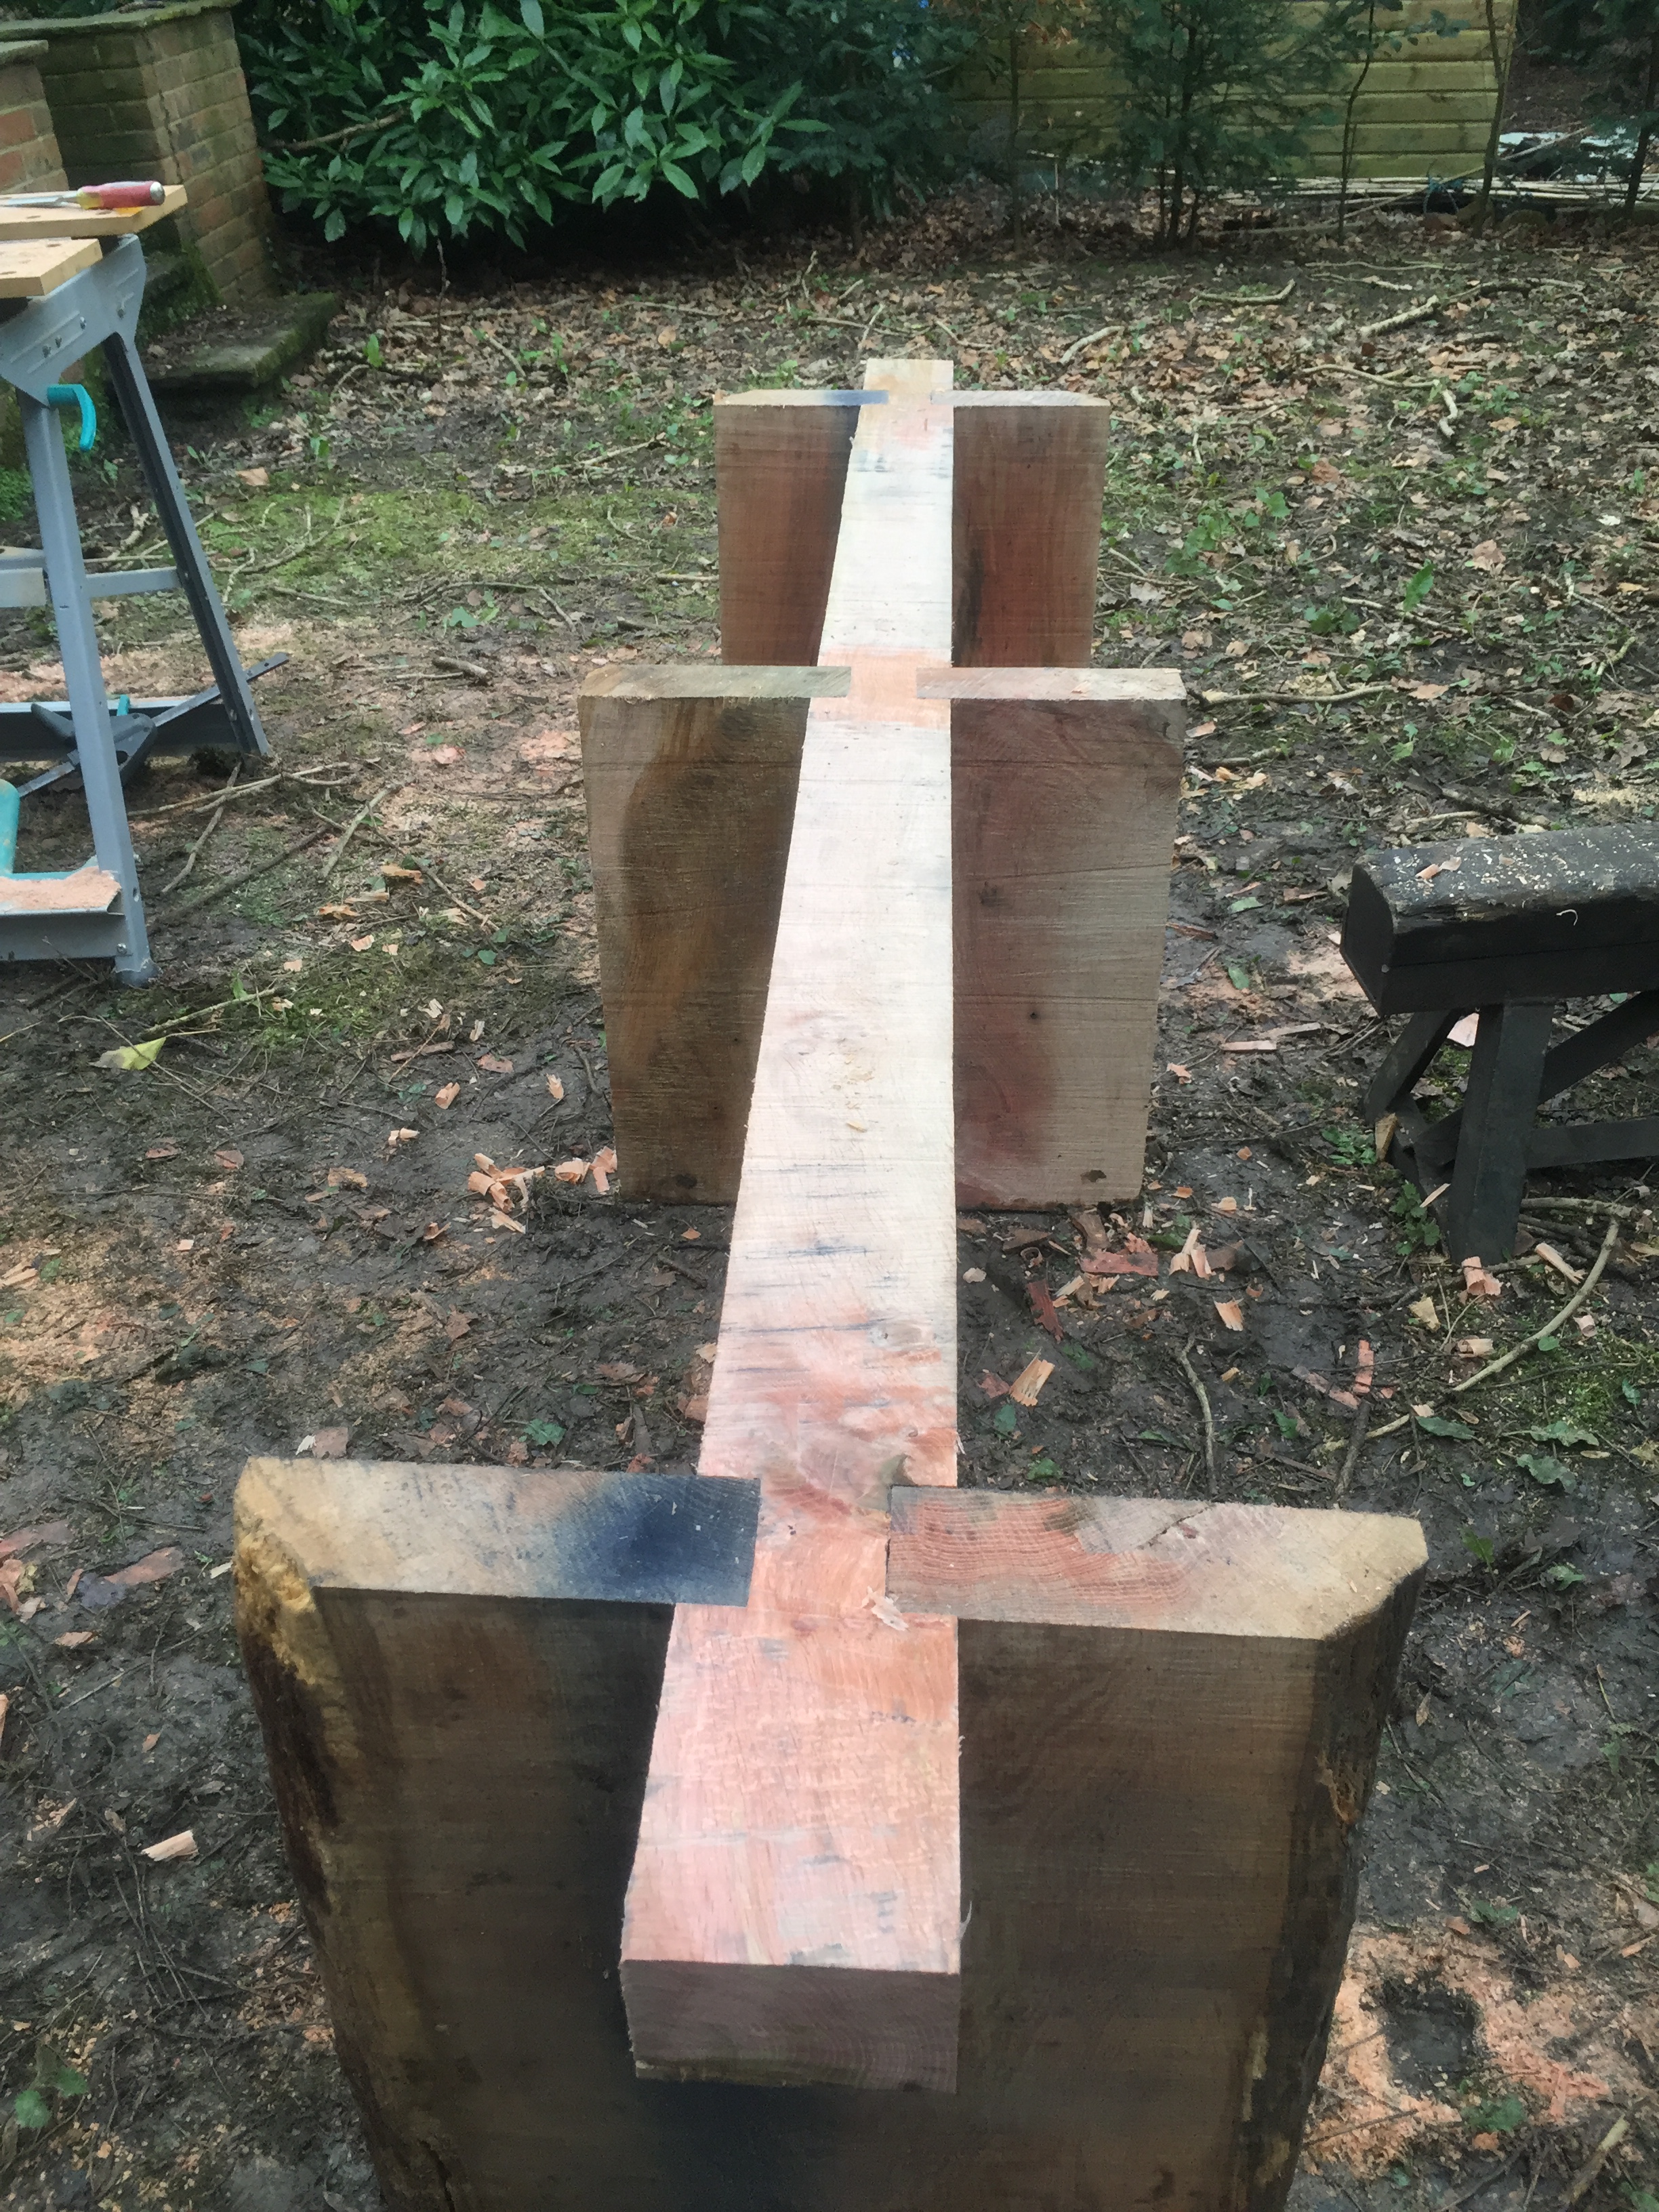
I used some stopped, dovetailed half lap joints to tie the rails together. 

4974728385277088365.JPG
8365204749910506670.JPG

For the legs I decided to go with a X shape and used strengthened Lap joints which are incredibly strong but also pretty time consuming to get perfect!

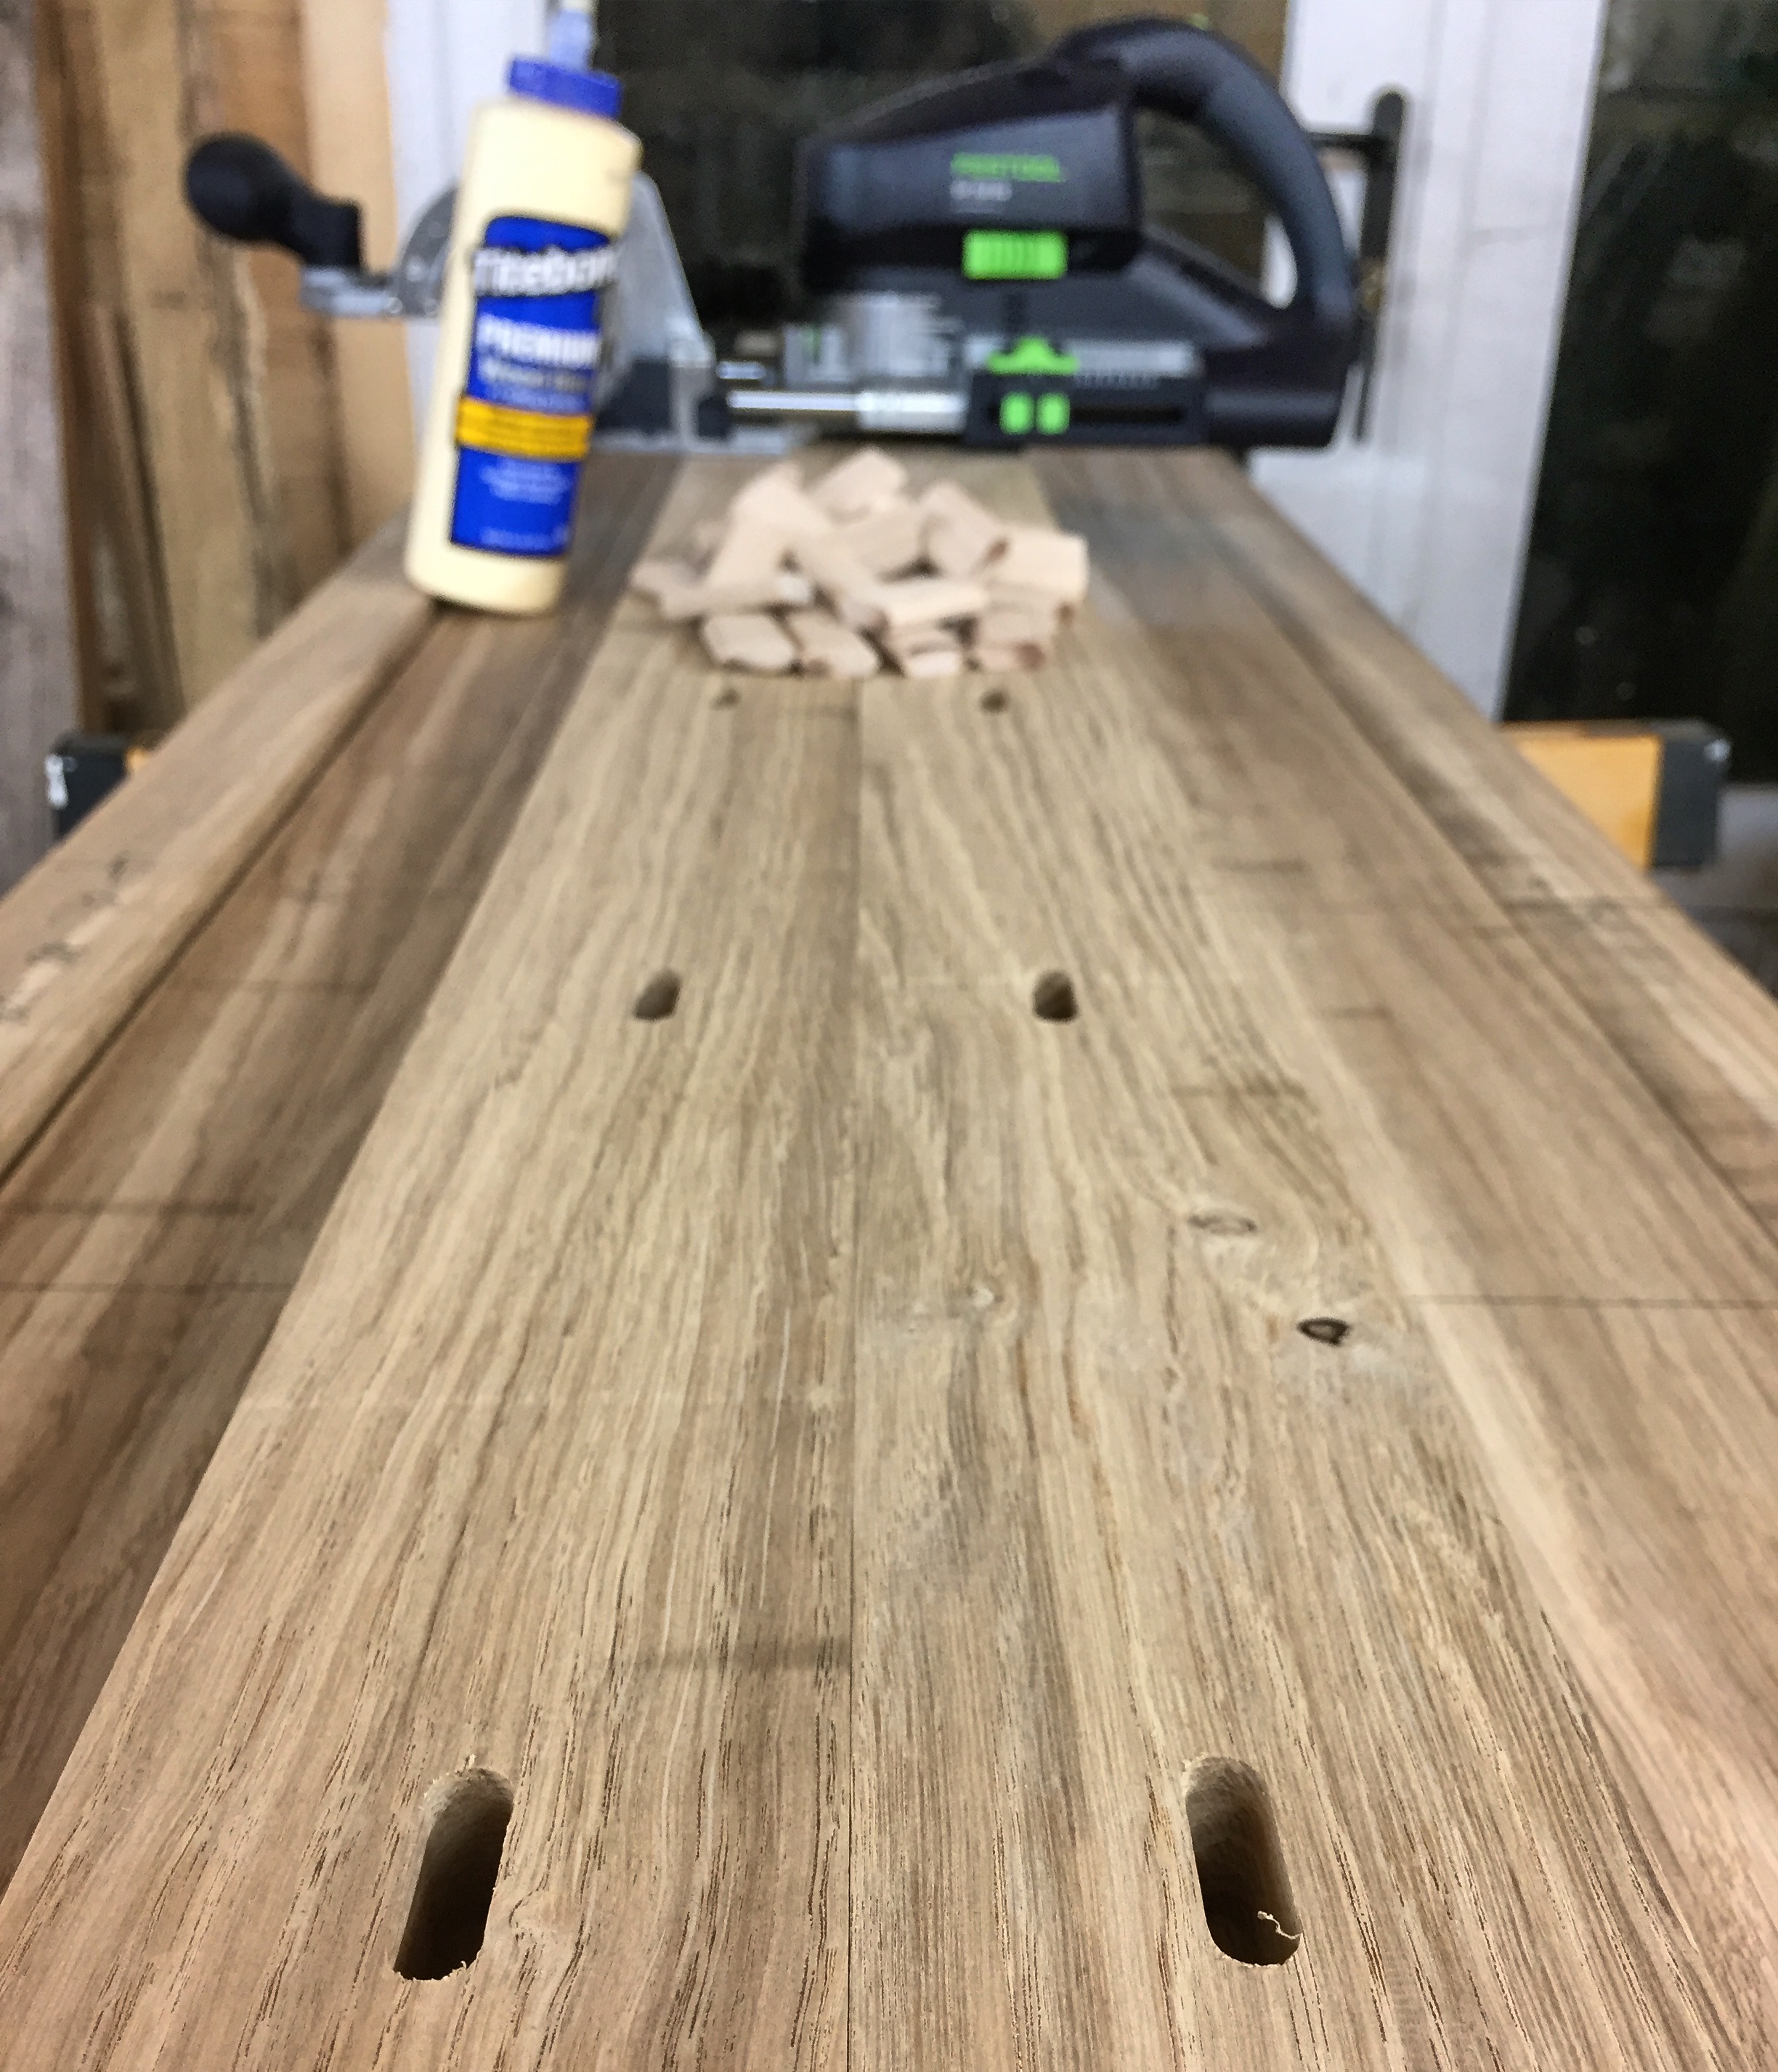
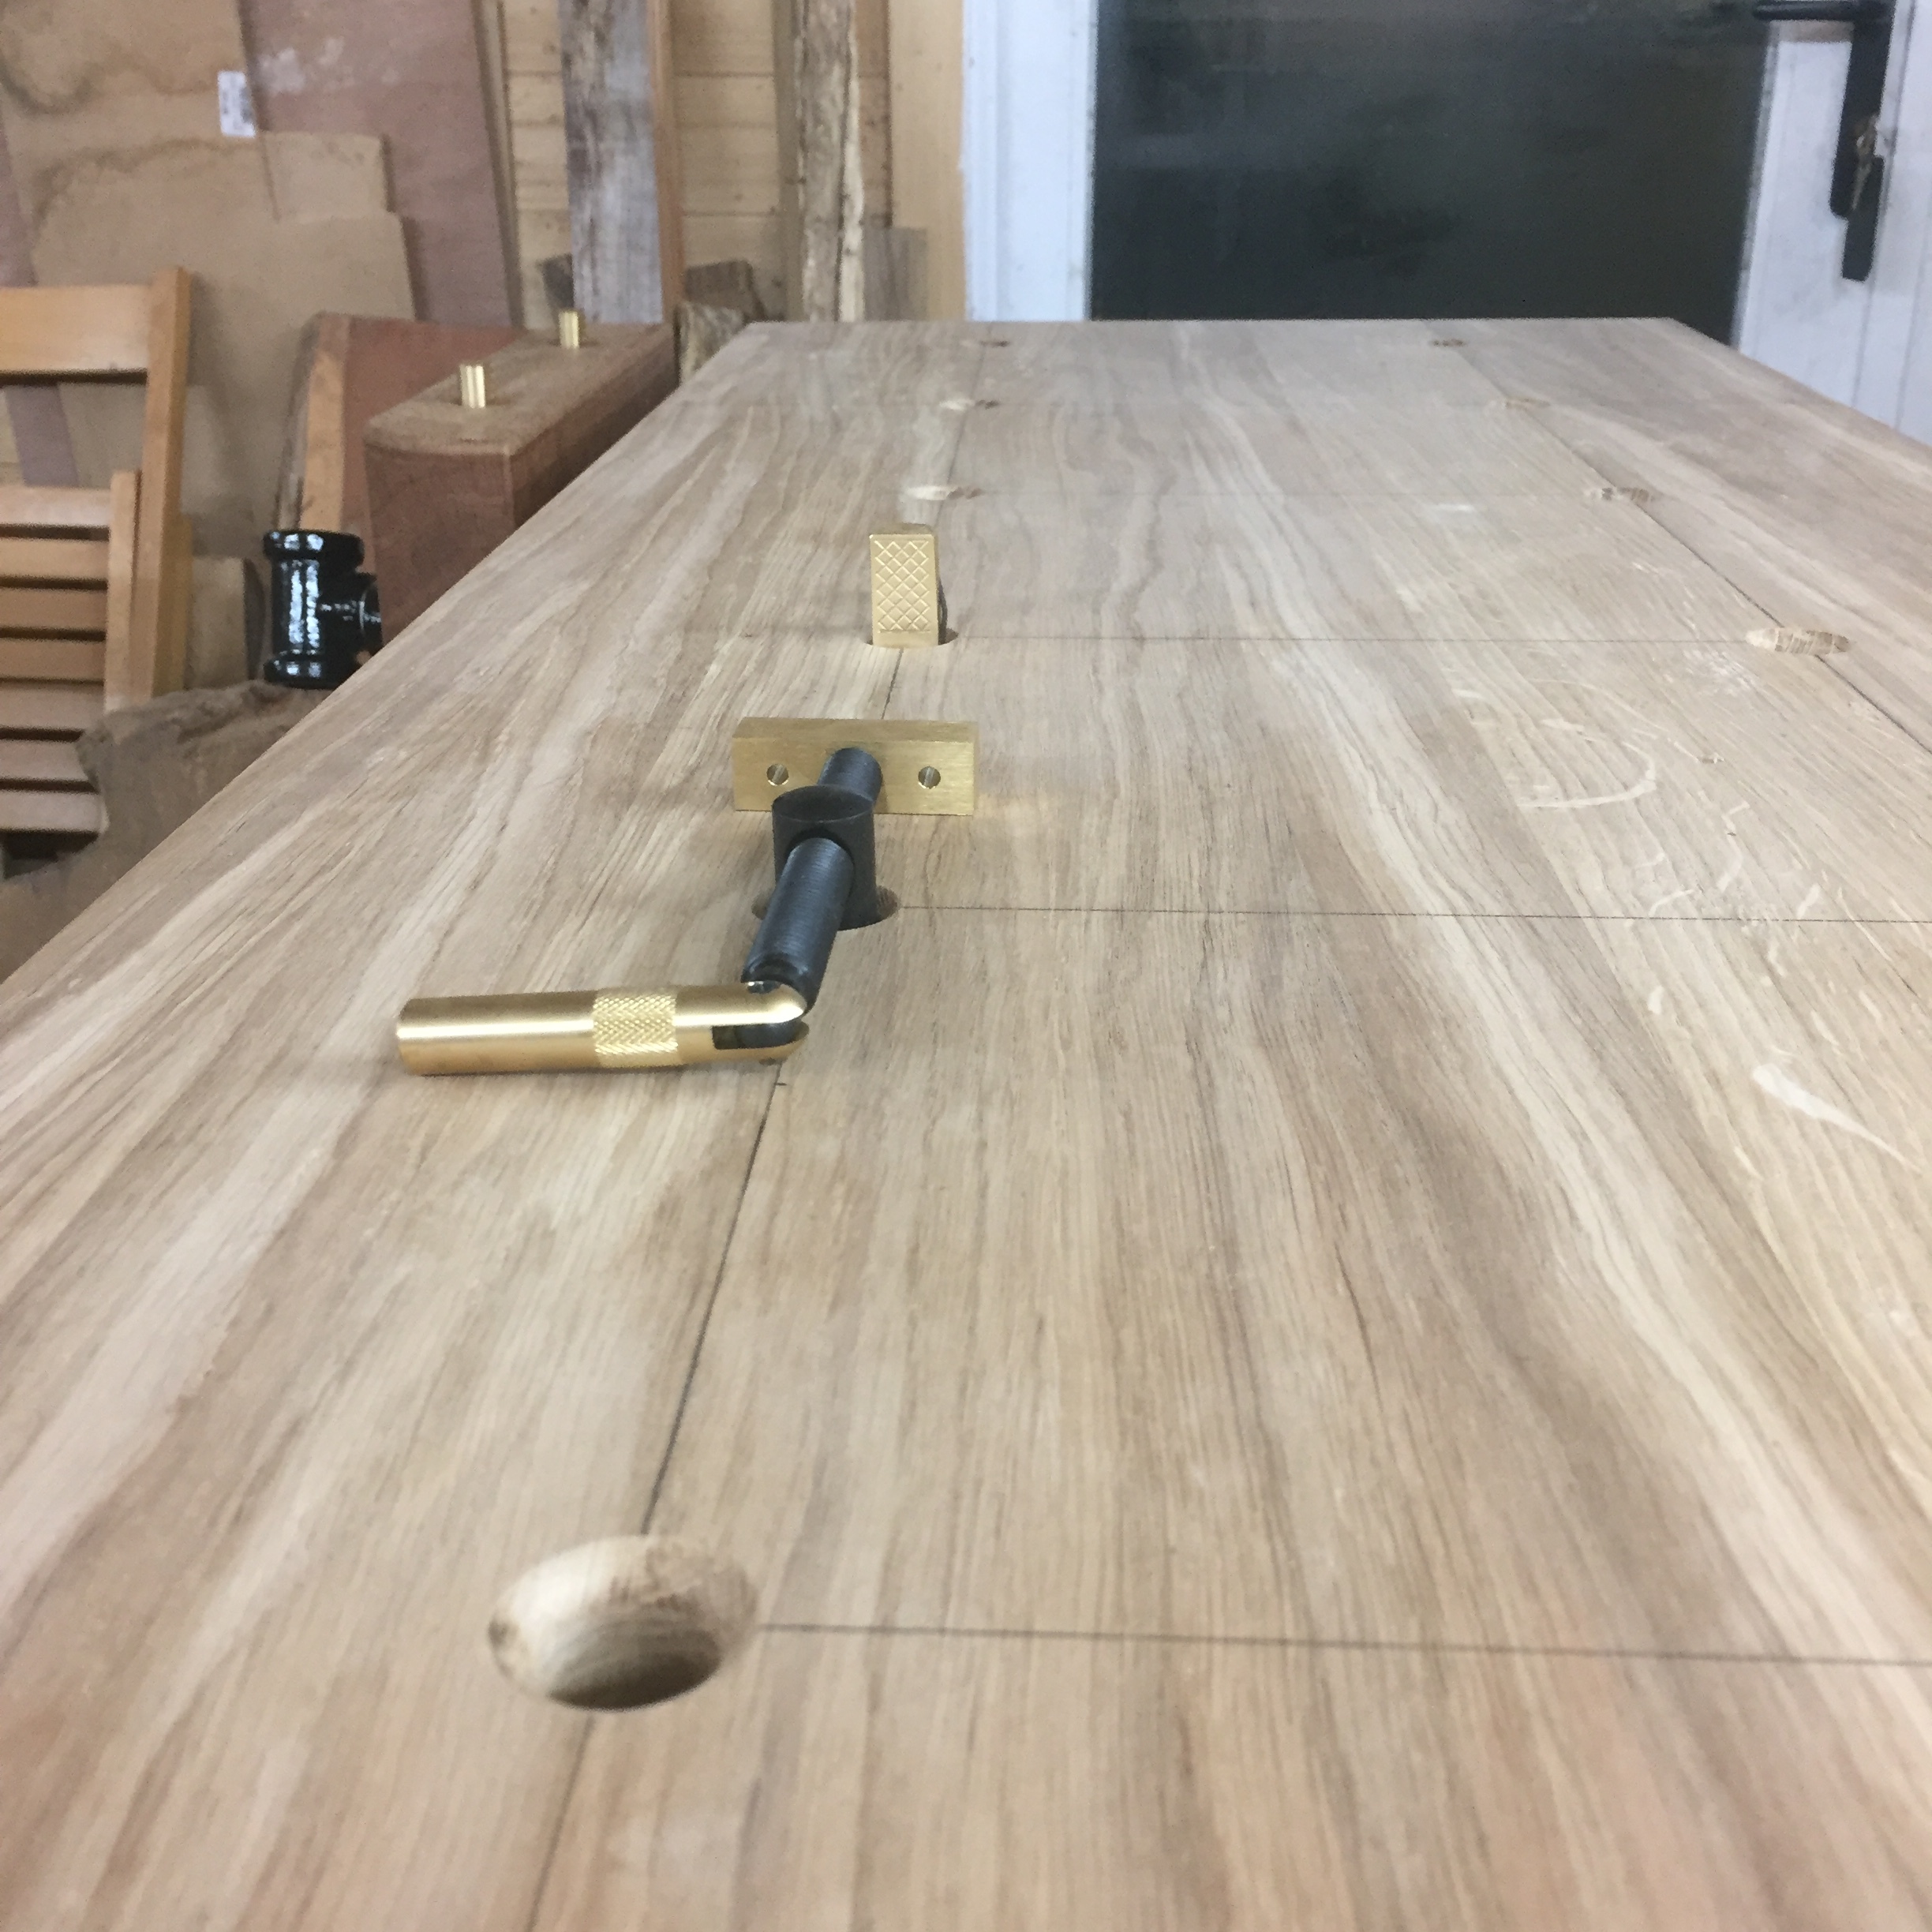
I Have to admit I feel like bowtie/butterfly keys are becoming a bit overused in furniture at the moment. I do appreciate the need to stop cracks from opening up though so put a couple in the top

11517025277122524735.JPG
3476117917847366067.JPG

All assembled and oiled with Osmo Polyx oil

8955033336978122194.JPG

Oak Workbench - Build

I did fairly large stub tenons for the legs at the top and bottom. Cut out with a skill saw then wasted all the material with a chisel before cleaning up with a rebate and block plane. 


I used a dowel maker which is basically an upgraded pencil sharpener to make a whole load of dowelling. The joints were draw bored and then pegged to make a pretty solid frame... I don't think it will be coming apart any time soon.


The vice was a bit of a fiddle to put together and to get it to run properly. I probably should have read the instructions a little better but they were in Canadian so everything was imperial and I was using metric drill bits.. Got it running sweet though and its a really really smart vice. I left the vice a bit proud with the intention of planing it down perfectly flush with the top after fitting. 


Test fitting the Veritas brass dogs and wonder dogs. Cant wait to put them to use. 


Bolted the frame to the top as its pretty heavy and if I need to move it anywhere in the future it would be a lot easier to move it separately rather than if it was one single bench. Fitted a western red cedar shelf underneath. I used Osmo top oil to give it a nice resistant finish - I use matt oil as I personally am not a fan of shiny wood. 


All it needs now is a handle for the vice!

Its been a while since I made something for myself and after getting very inspired by other peoples workbenches I decided to embark on creating my own workbench that fits my needs. 

Certain criteria had to be met

  • Methods of holding any shaped bit of timber firmly but also with the ability to do certain tasks such as routing and sanding without any interference from clamps or such
  • A shelf to hold tools that are in constant use.
  • Heavy enough to be hold timber being Hand planed without rocking.
  • Decent sized vice which is strong enough for hand planing jobs.


I started with the top which I made out of some really nice kiln dried oak. It was sawn into 3 inch thick pieces, planed/thicknessed then joined together with dominos. The domino is a great bit of kit and makes this kind of job a lot easier as it keeps the boards perfectly aligned. 


I cleaned all the glue lines off the top and roughly planed it flat with a mixture of a low angle jack and a smoothing plane. I decided to go with a mixture of brown oak and normal oak for the legs as I quite like this theme and have used it before. 

I used Brown oak for the vice as well. All the brown oak came from a log I milled quite a few years ago with my father back on the farm we used to run our firewood business from. The Veritas large front vice kit I bought was originally green but I decided I wanted to paint it black as it seemed to match the Brown oak better.


Everything cleaned up, I can't resist putting chamfers on things...


I chose to use Veritas bench accessories as they are pretty well made and the brass looks pretty bling. I drilled out 19mm holes in the top to accommodate these. Drilling pretty much perfectly square holes was a lot easier with this drill holder I bought off Axminster. 


Log to Table

I milled this oak log in Gatwick in the summer on a beautiful sunny day. It was absolutely riddled with nails, screws and fencing so the bottom metre had to be cut off completely and the rest carefully examined before each cut. Despite the large amount of blue staining I was lucky enough not to hit anything at all. 

I cut two slabs for the top of the table then some 5x5 and 4x4 for the frame underneath.


On this table it was decided that I could spend an extra day on the table and plane and size all the timber. This really makes a big difference to the finish of the table and allows the grain to show through. As it dries out and ages the grey of the oak will be enlightened with the silvery medullary rays and will look really smart. 


The frames I build for these tables are all made with pegged mortise and tenons. The pegs are made out of seasoned oak so when the rest of the table dries out the joints only get tighter


As I had planed the timber I also added more finishing touches such as chamfered edges. 


I built the two ends in the work shop and then completed the rest of it on site. This included cleaning up and hand planing the top smooth.


The finished product. One very heavy table!


Oak Log Arch Bridge

Its always a shame when a big oak tree succumbs to stormy weather. Especially when they were as nice as this one. The first 6 meters of the trunk were perfectly straight and there were no large knots in it. After that there was a large curved section. I discussed what it could be used for with the client and it just so happened that the tree fell right towards a small river which they had intended to build a bridge over. Shipwrights of the past used to treasure natural curves in oak as they are much stronger than ones that are cut from straight grained timber. So it was decided to make use of the curved part to make two sides of a footbridge.

After milling the curved bit in half I then went on to cut 2 inch planks out of the first straight section of the trunk. These were for the treads of the bridge. I also cut some 3 inch planks which were sawn again to make 3x3 for the structural parts of the bridge.


The gardeners did a brilliant job of clearing the area and then setting two concrete pads for the bridge to sit on. 

The hand rails and treads were then cut in and attached. It was a really nice job to follow from start to finish and I'm pretty happy with it. Its all made out of solid Oak so I'd imagine it will last the foreseeable future!


Oak milling in Bromley

Making use of a victim of the recent storm Katie. This oak was milled into a 3 inch thick boards and also 1.5 inch boards. After the top slab was cut I sawed one of the sides off to removed a large flair in the log. The log itself was on a pretty steep hill (pictures don't do it justice..), it was interesting to see how adaptable the Alaskan set up is for logs that are in difficult spots.


I recently invested in a larger saw and Alaskan sawmill frame which means I have the option to cut boards up to 1.5 meters wide! 


Outdoor Oak Dining table

First off, the oak was milled into 3 inch thick boards and 3 meters long then some of the planks were then converted into 5x3 rails. It was a really awesome piece of oak with nice streaks of dark brown, pink and blue from a piece of metal inside the tree which I somehow managed the miss with the saw!


When it came to building the table I used a combination of bridle joints, lap joints and stainless steel bolts to hold it together. This combination makes for a very solid table - Which it needed to be as the two planks that formed the table top took 4 people to lift!

It was a great project to build and I'm pretty sure it will outlive me...